Before we actually starts configuring Kerberos Double Hop, Lets have a look on to the current settings
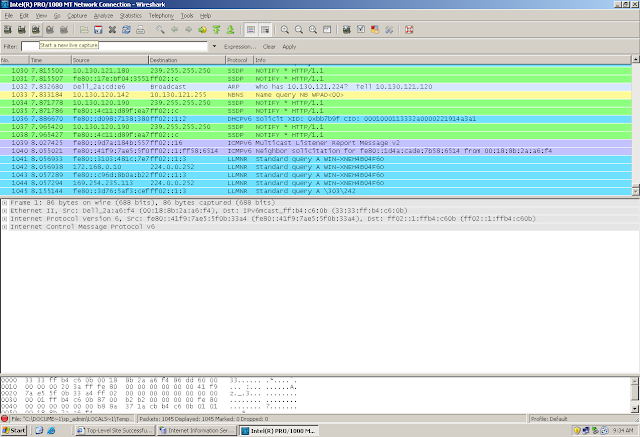
One of the best way to check if the SharePoint Site is using NTLM or Kerberos, is to take a network Capture. You can use Netmon or Wireshark
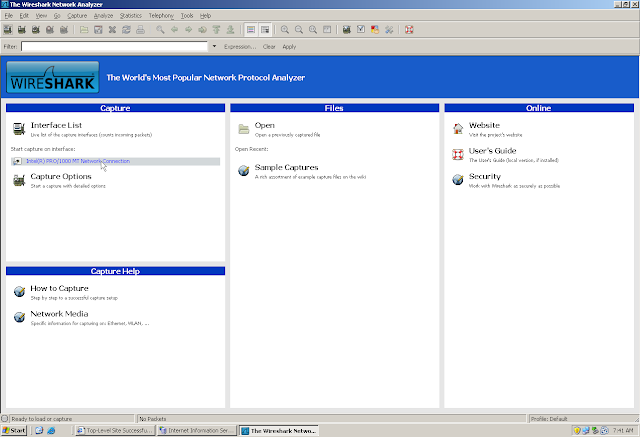
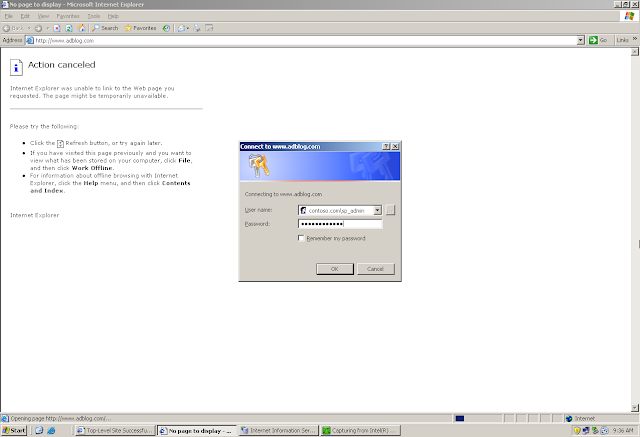
Start a network Capture and Browse the SharePoint Site
Lets first check if there was any Kerberos Traffic while accessing the Site
The answer is of course "No"!!!
FYI... In analyzing Network Capture, we have some predefined filters that can be used. Filters for NTLM, Kerberos, TCP, DNS etc...
When we mention the name of the pre-defined filter, if the colour of the search box remains "RED" then that means that the name of the filter is either incorrect or was not found in the pre-defined list of the filters
If the colour changes to "GREEN" then that means that the tool was bale to match the filter name
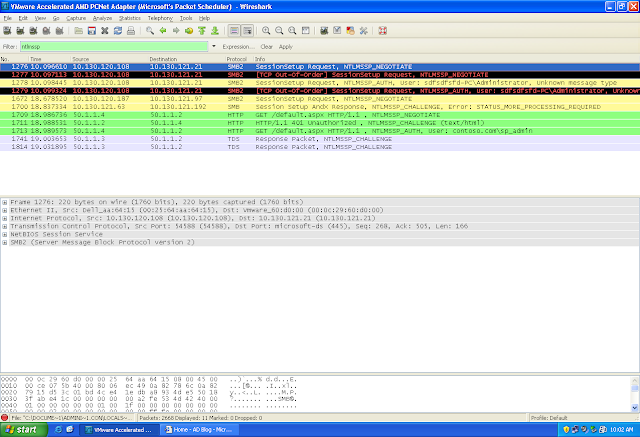
Lets try to search for NTLM Traffic
Got it!!!
Capture and the NTLM traffic from a Client Machines as well....
Along with, we should get Events in the Event Viewer stating that the Authentication Protocol used while accessing the site was "NTLM"
Finally, lets configure Kerberos Authentication o the site that we have created
Remember, we will not set "Kerberos Authentication" on the "Central Administration"
Central Administration is a default site to manage SharePoint. Let that remains on NTLM
Central Administration -> Application Management -> Web Application List
Choose the Web Application on which you wants to enable Kerberos
This snap in is exactly the same as the one where we clicked on "Web Application List". The main difference is that now all the options that we view here is for the "Web Application" we have chosen in the above step
Click on Authentication Provider and Choose "Default"
Now Change the Authentication from NTLM to Kerberos
The manual changes it is talking about are SPNs and few other settings
Ok... We are done...


